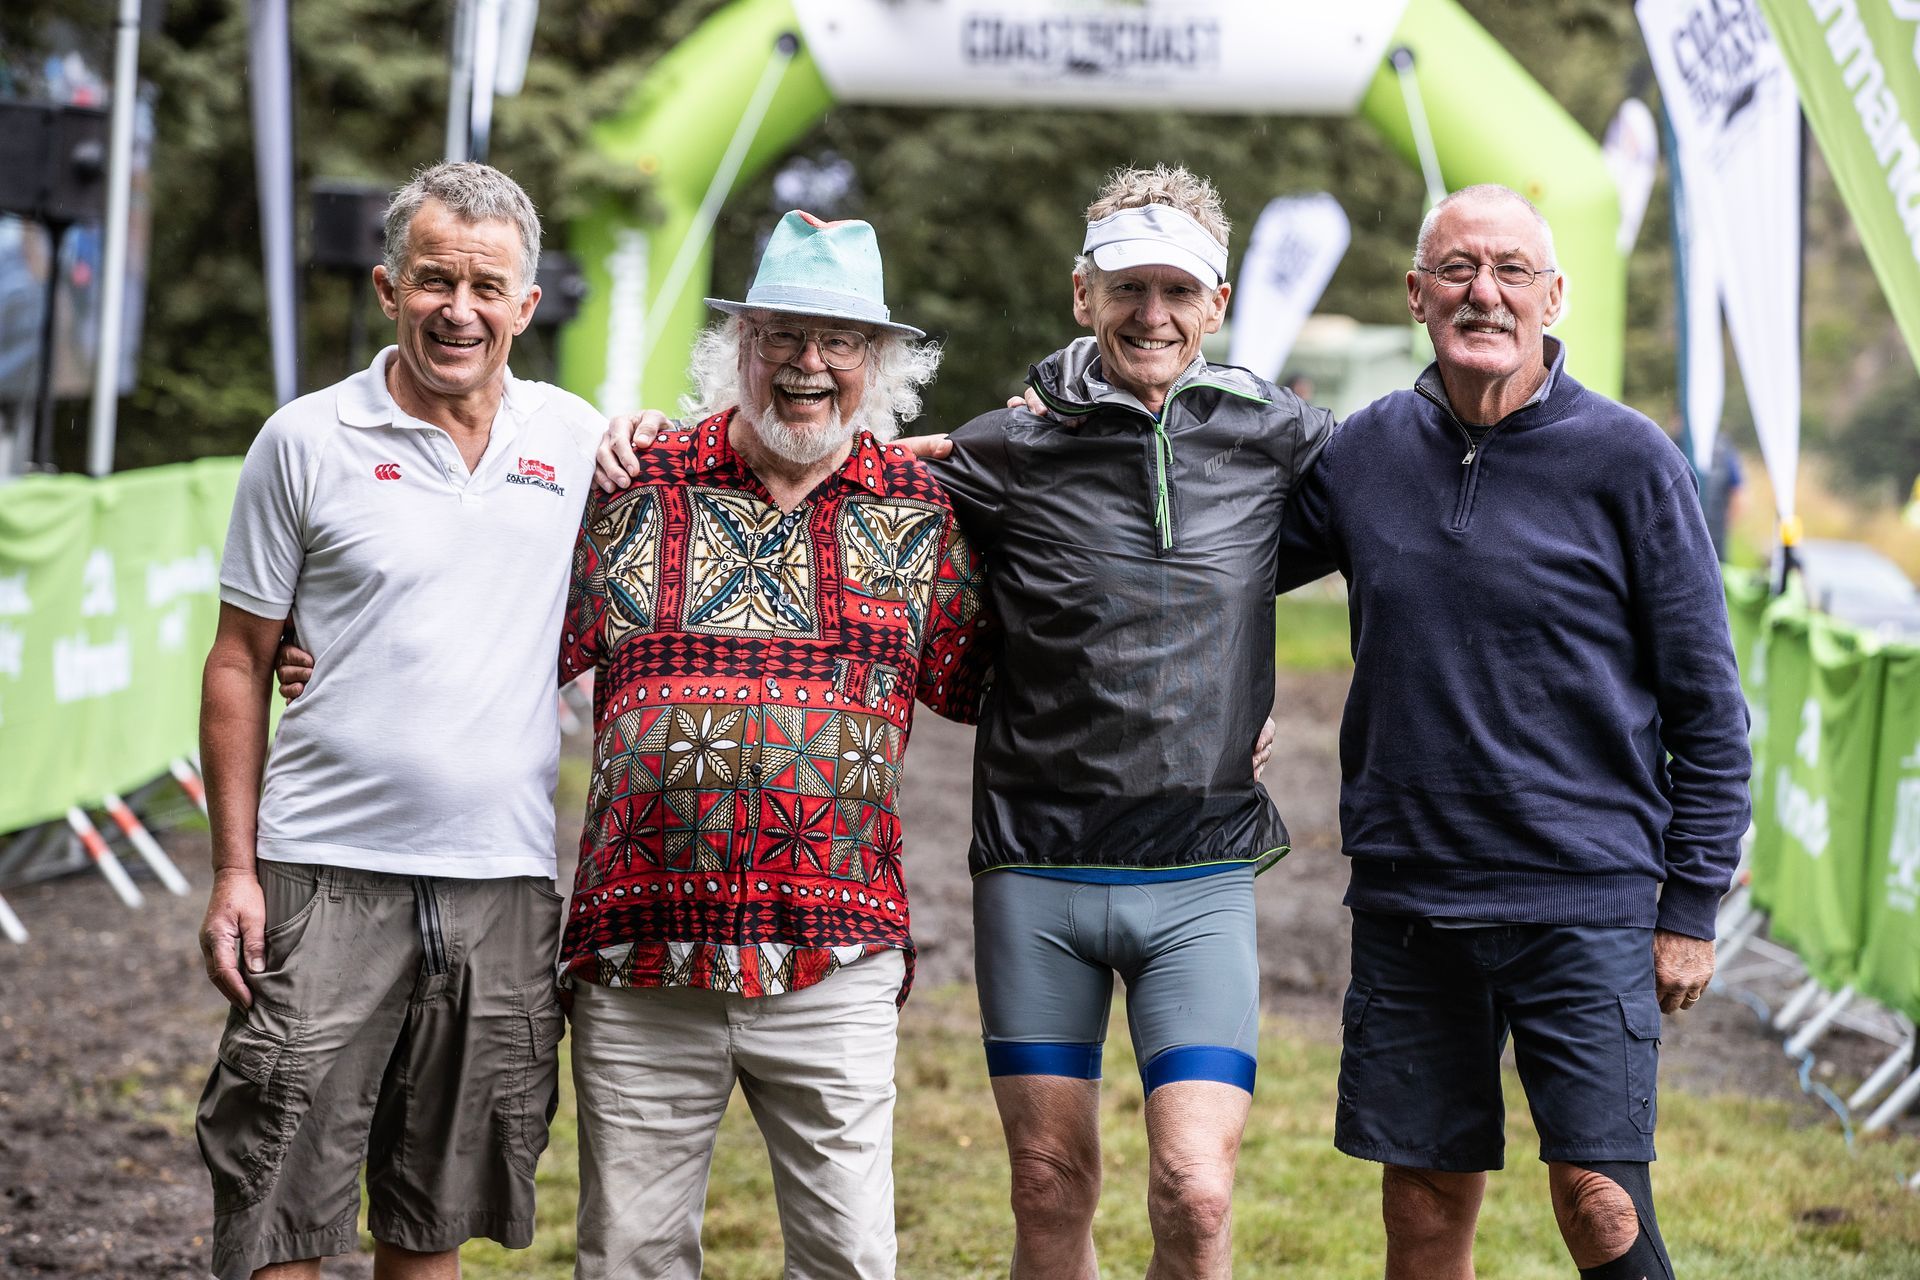
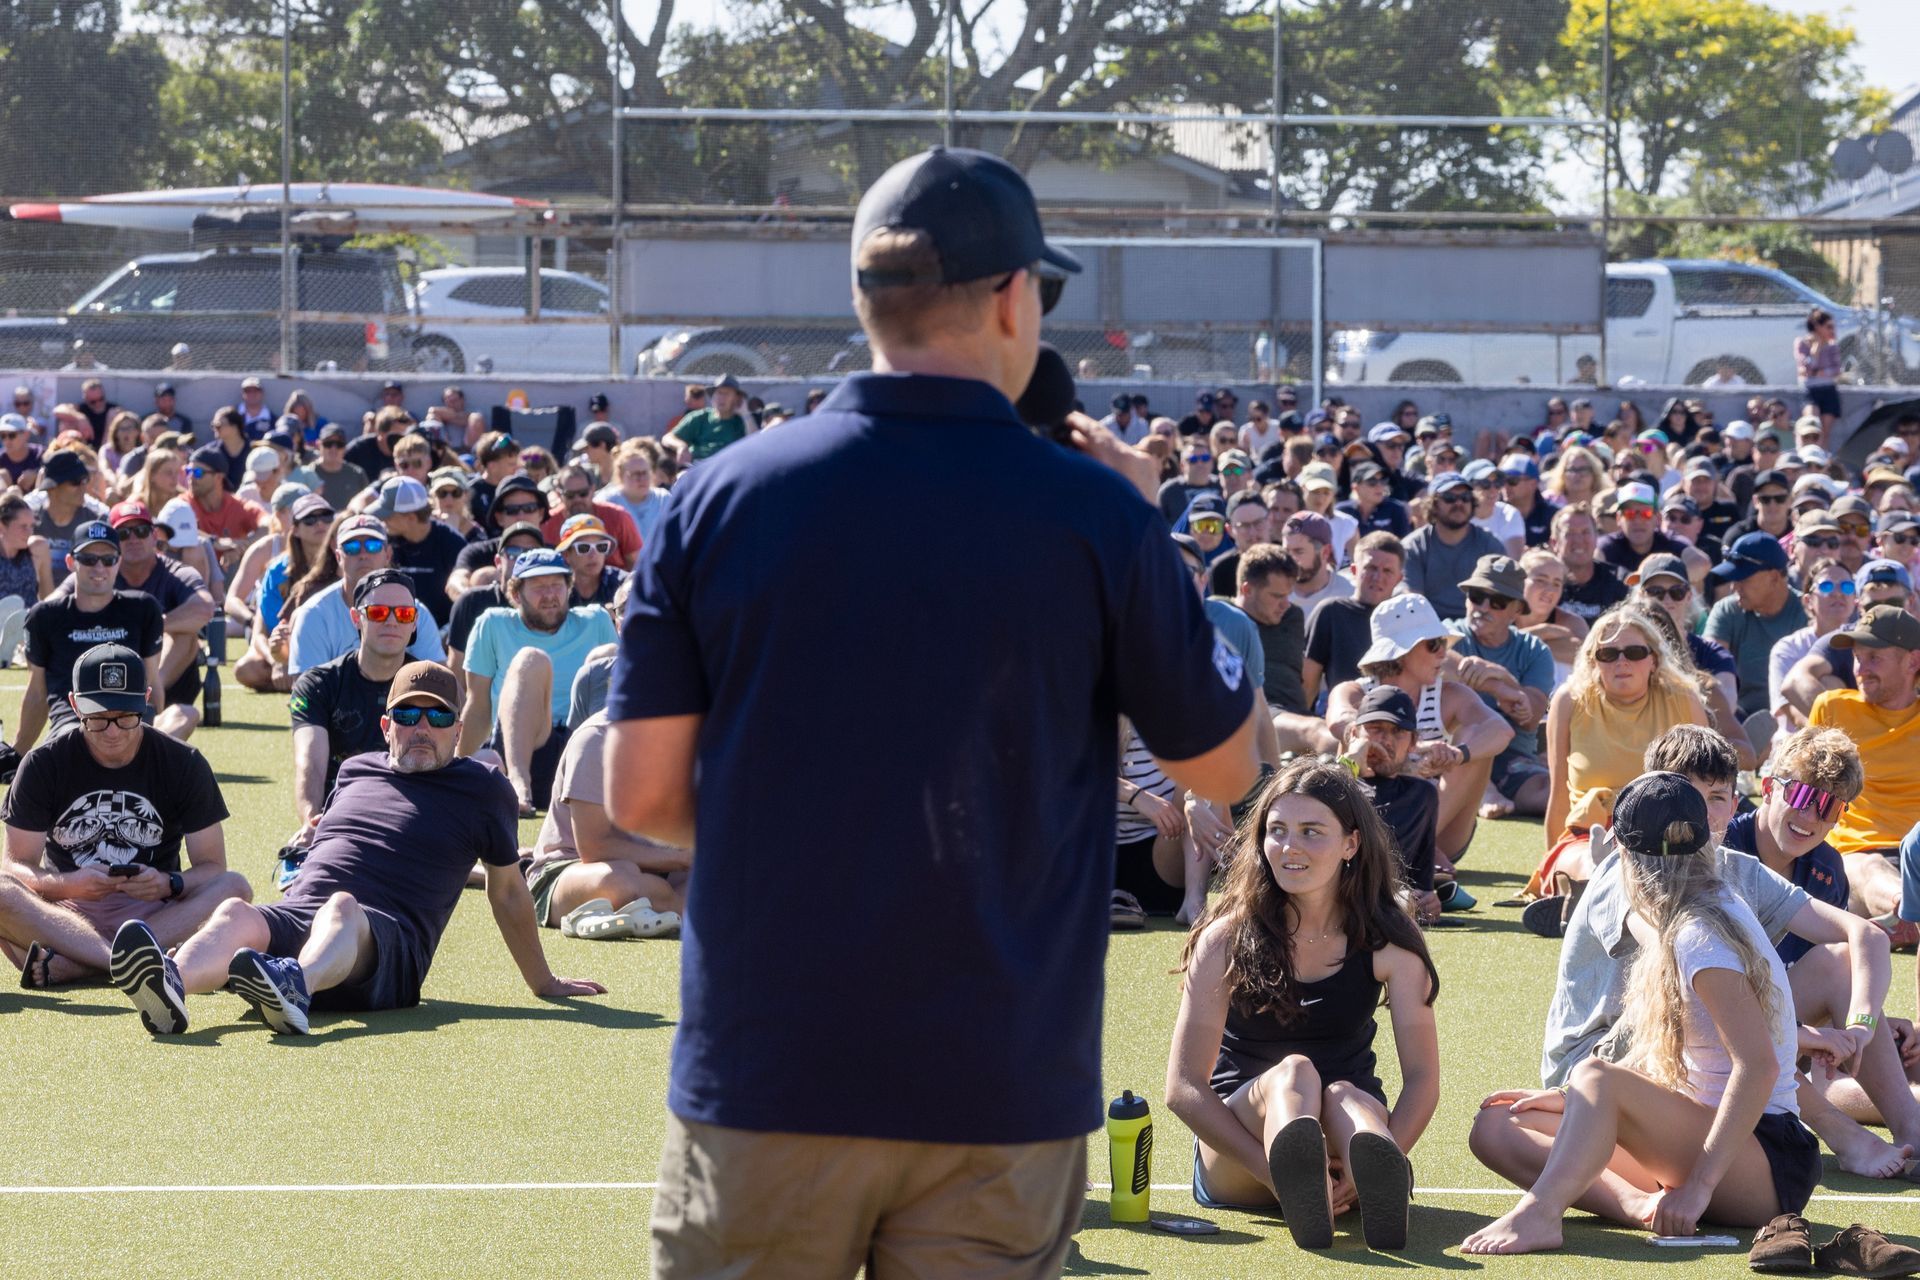
1983 competitors line up again
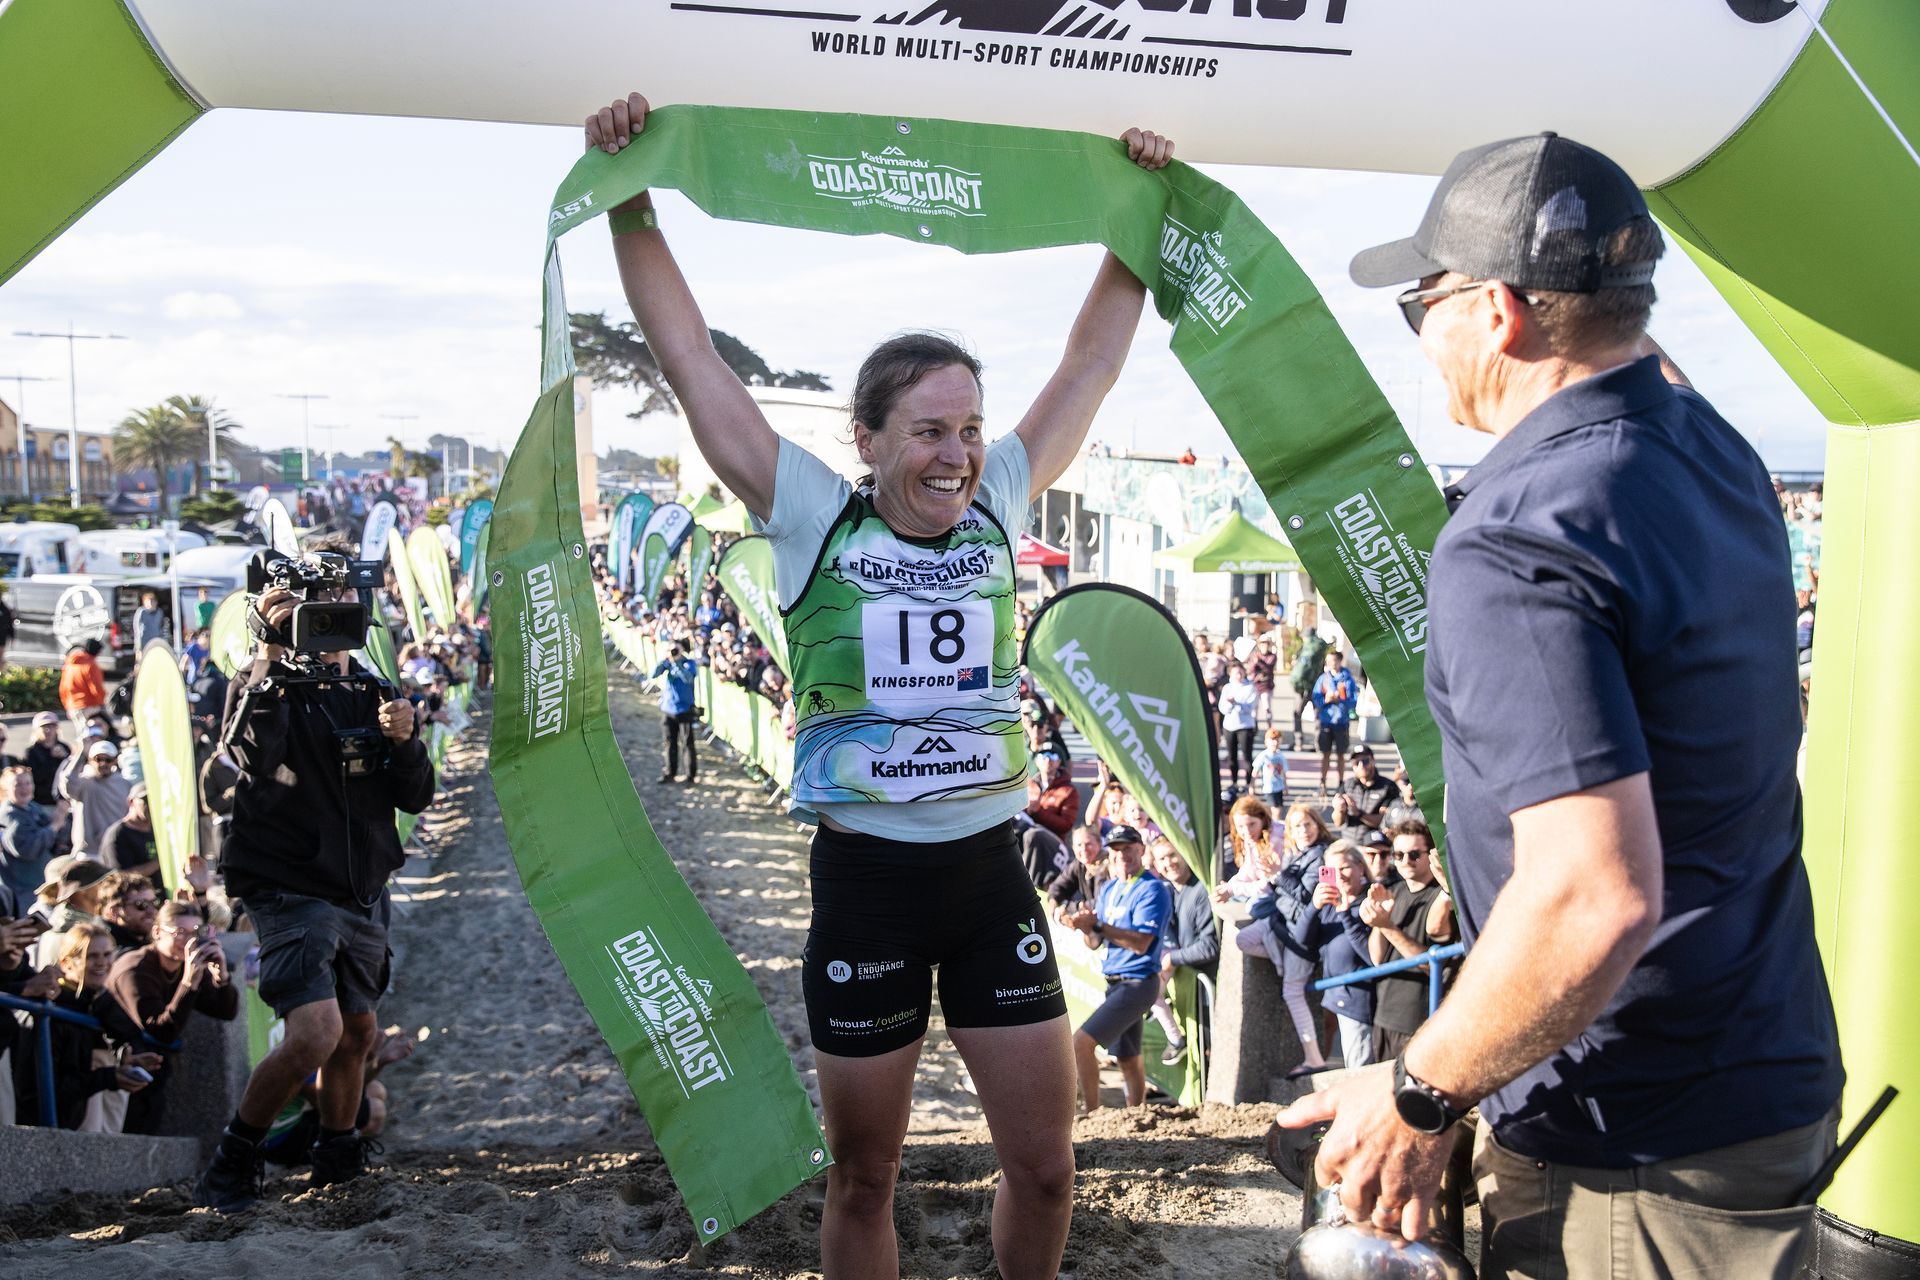
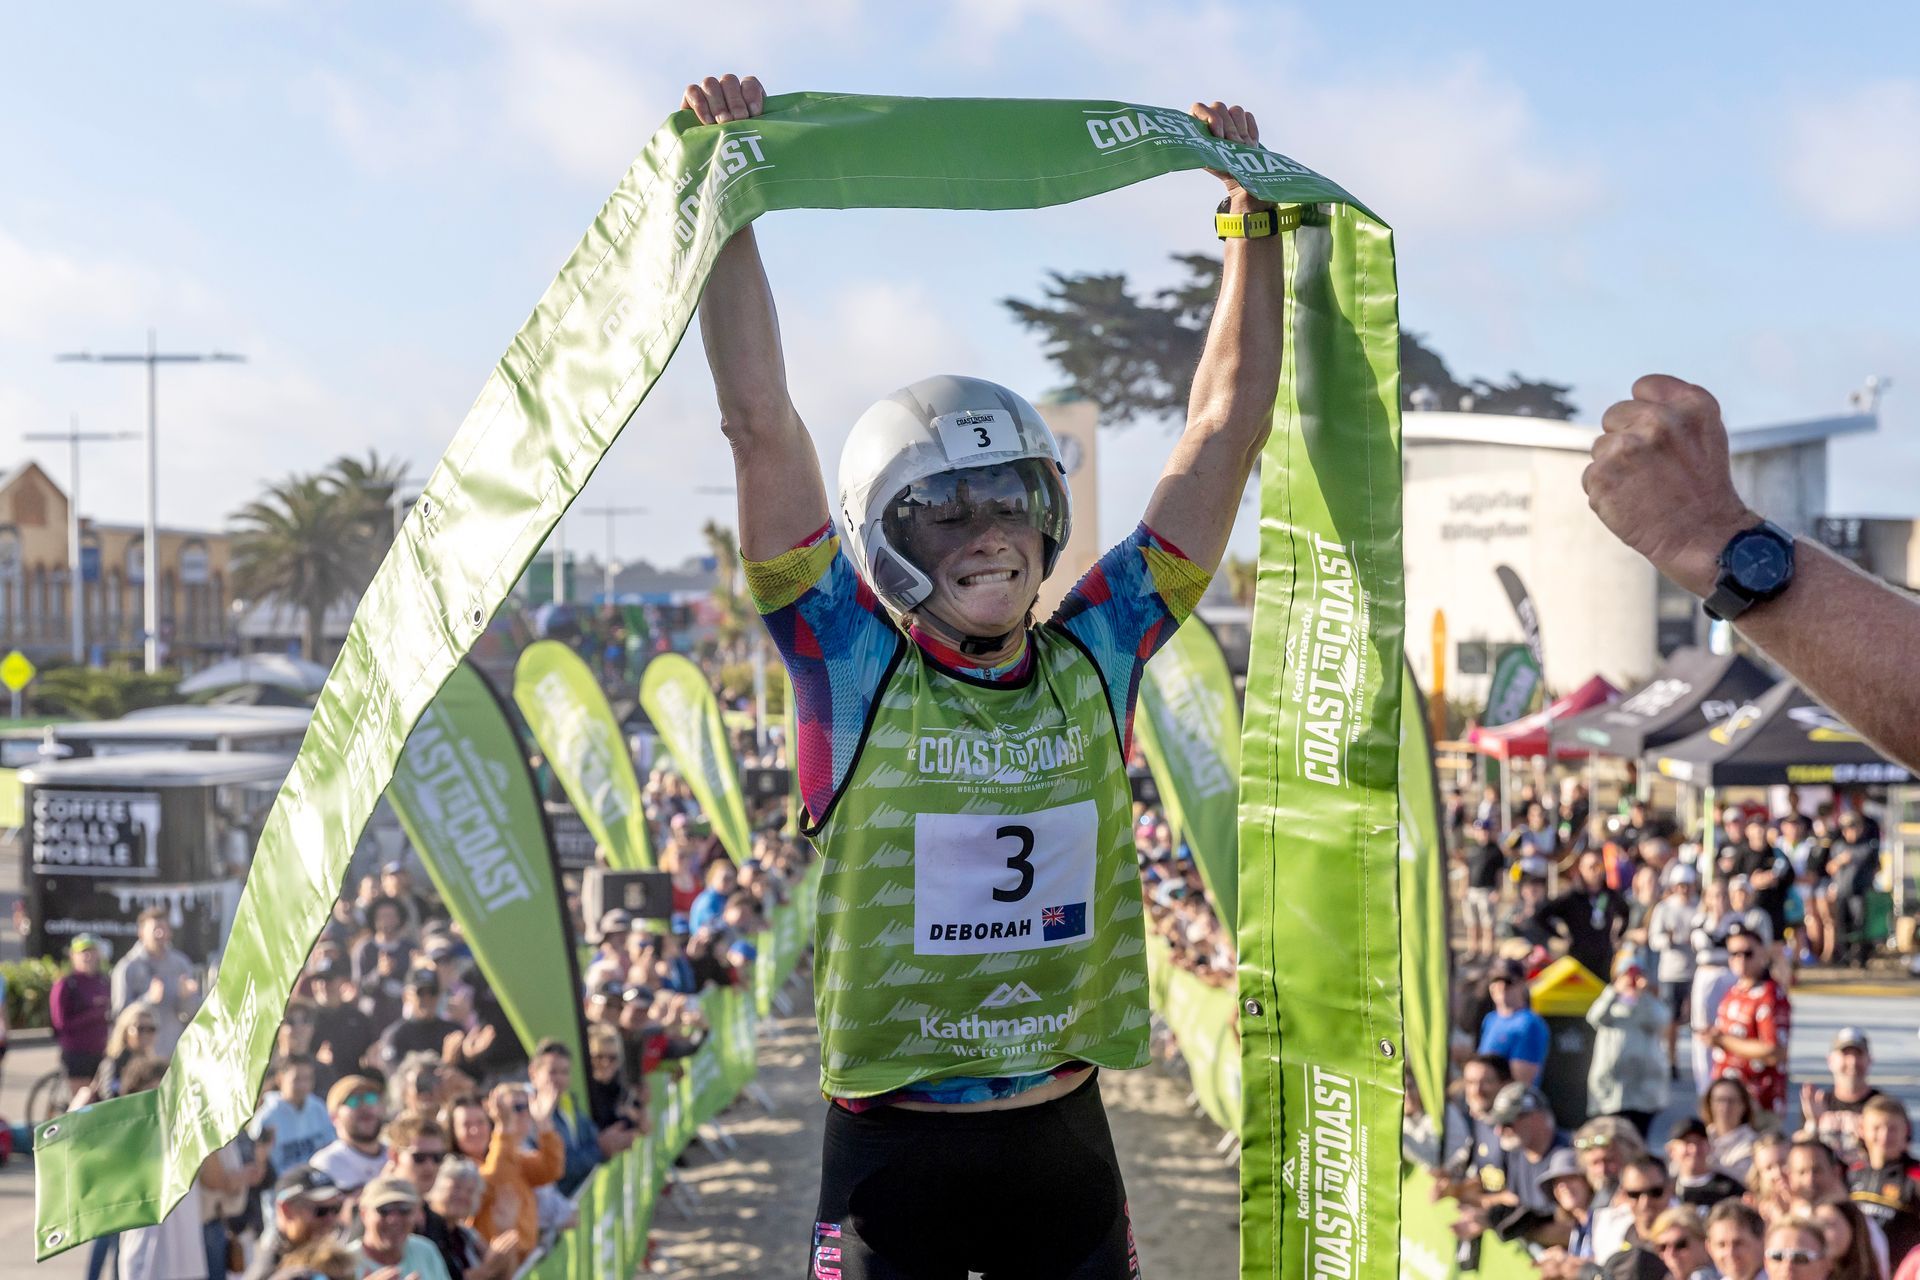
Rebecca claims her first longest day win
"I'm just stoked to be here!"
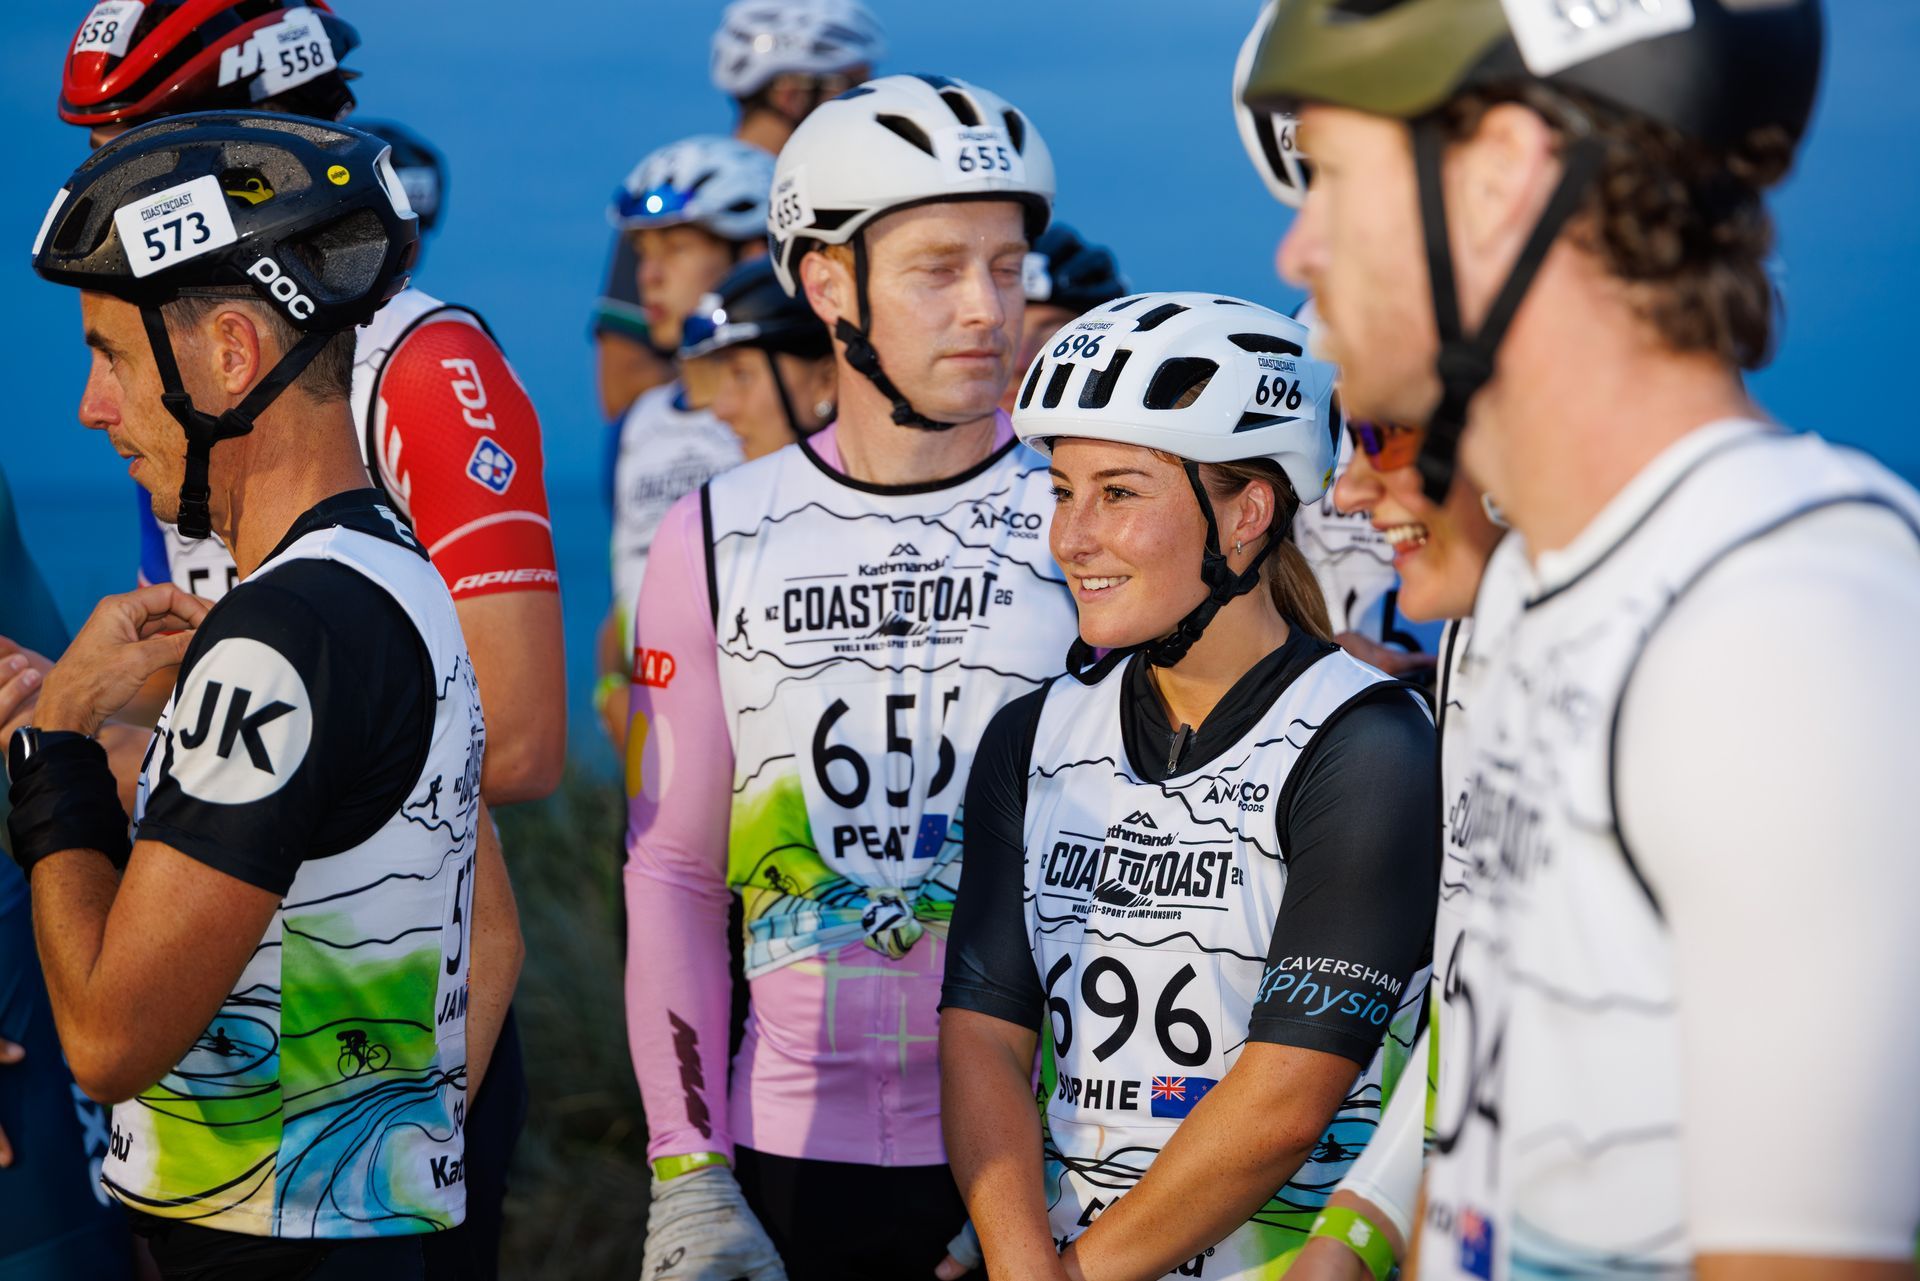
Sophie Shallard wins female title by 13 seconds
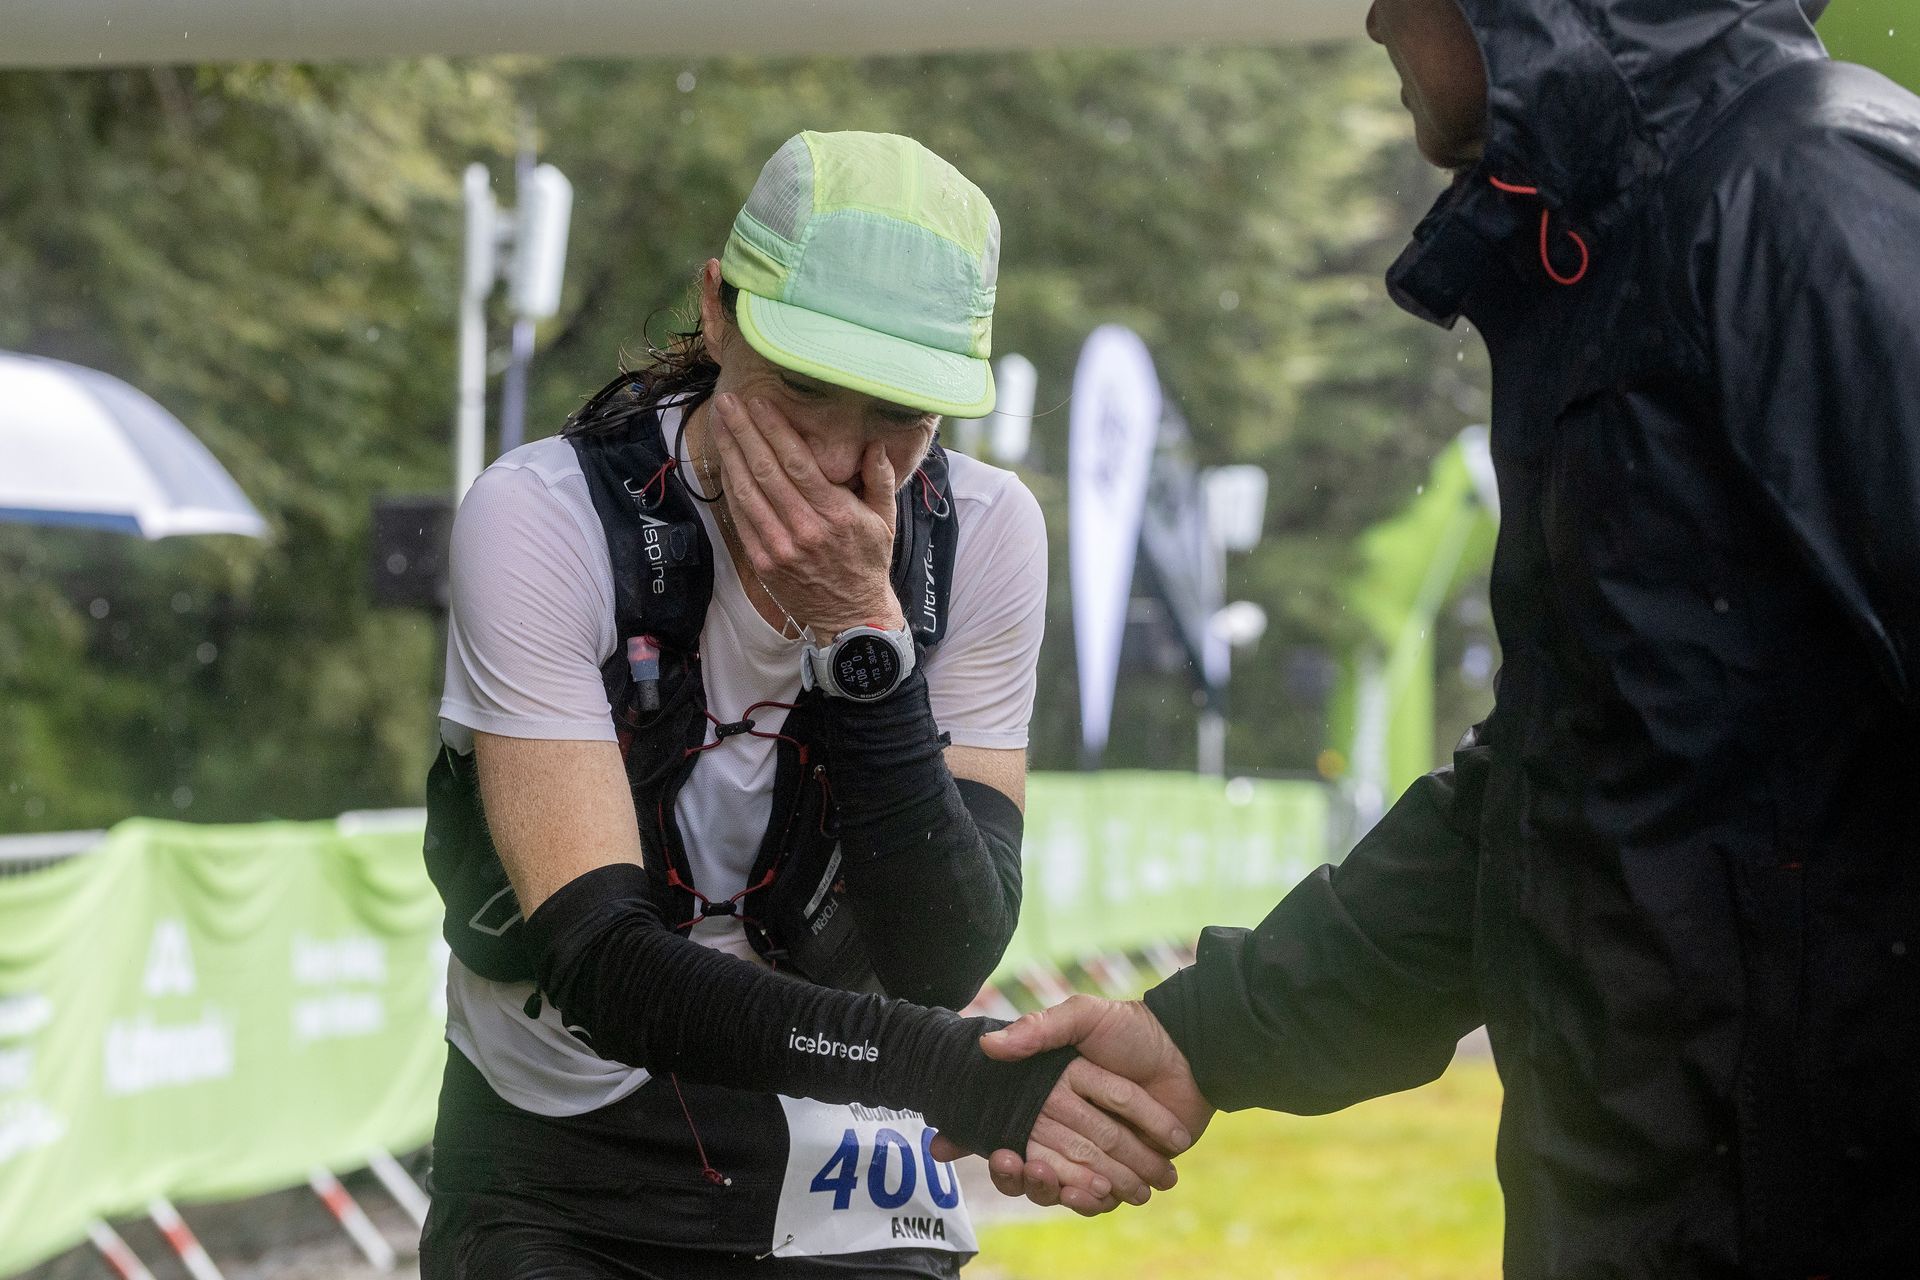
Anna Cameron claims women's title

Hannah Lund & Rebecca Kingsford out in front in women's race
Two Day leaders emerge after a wet day of racing
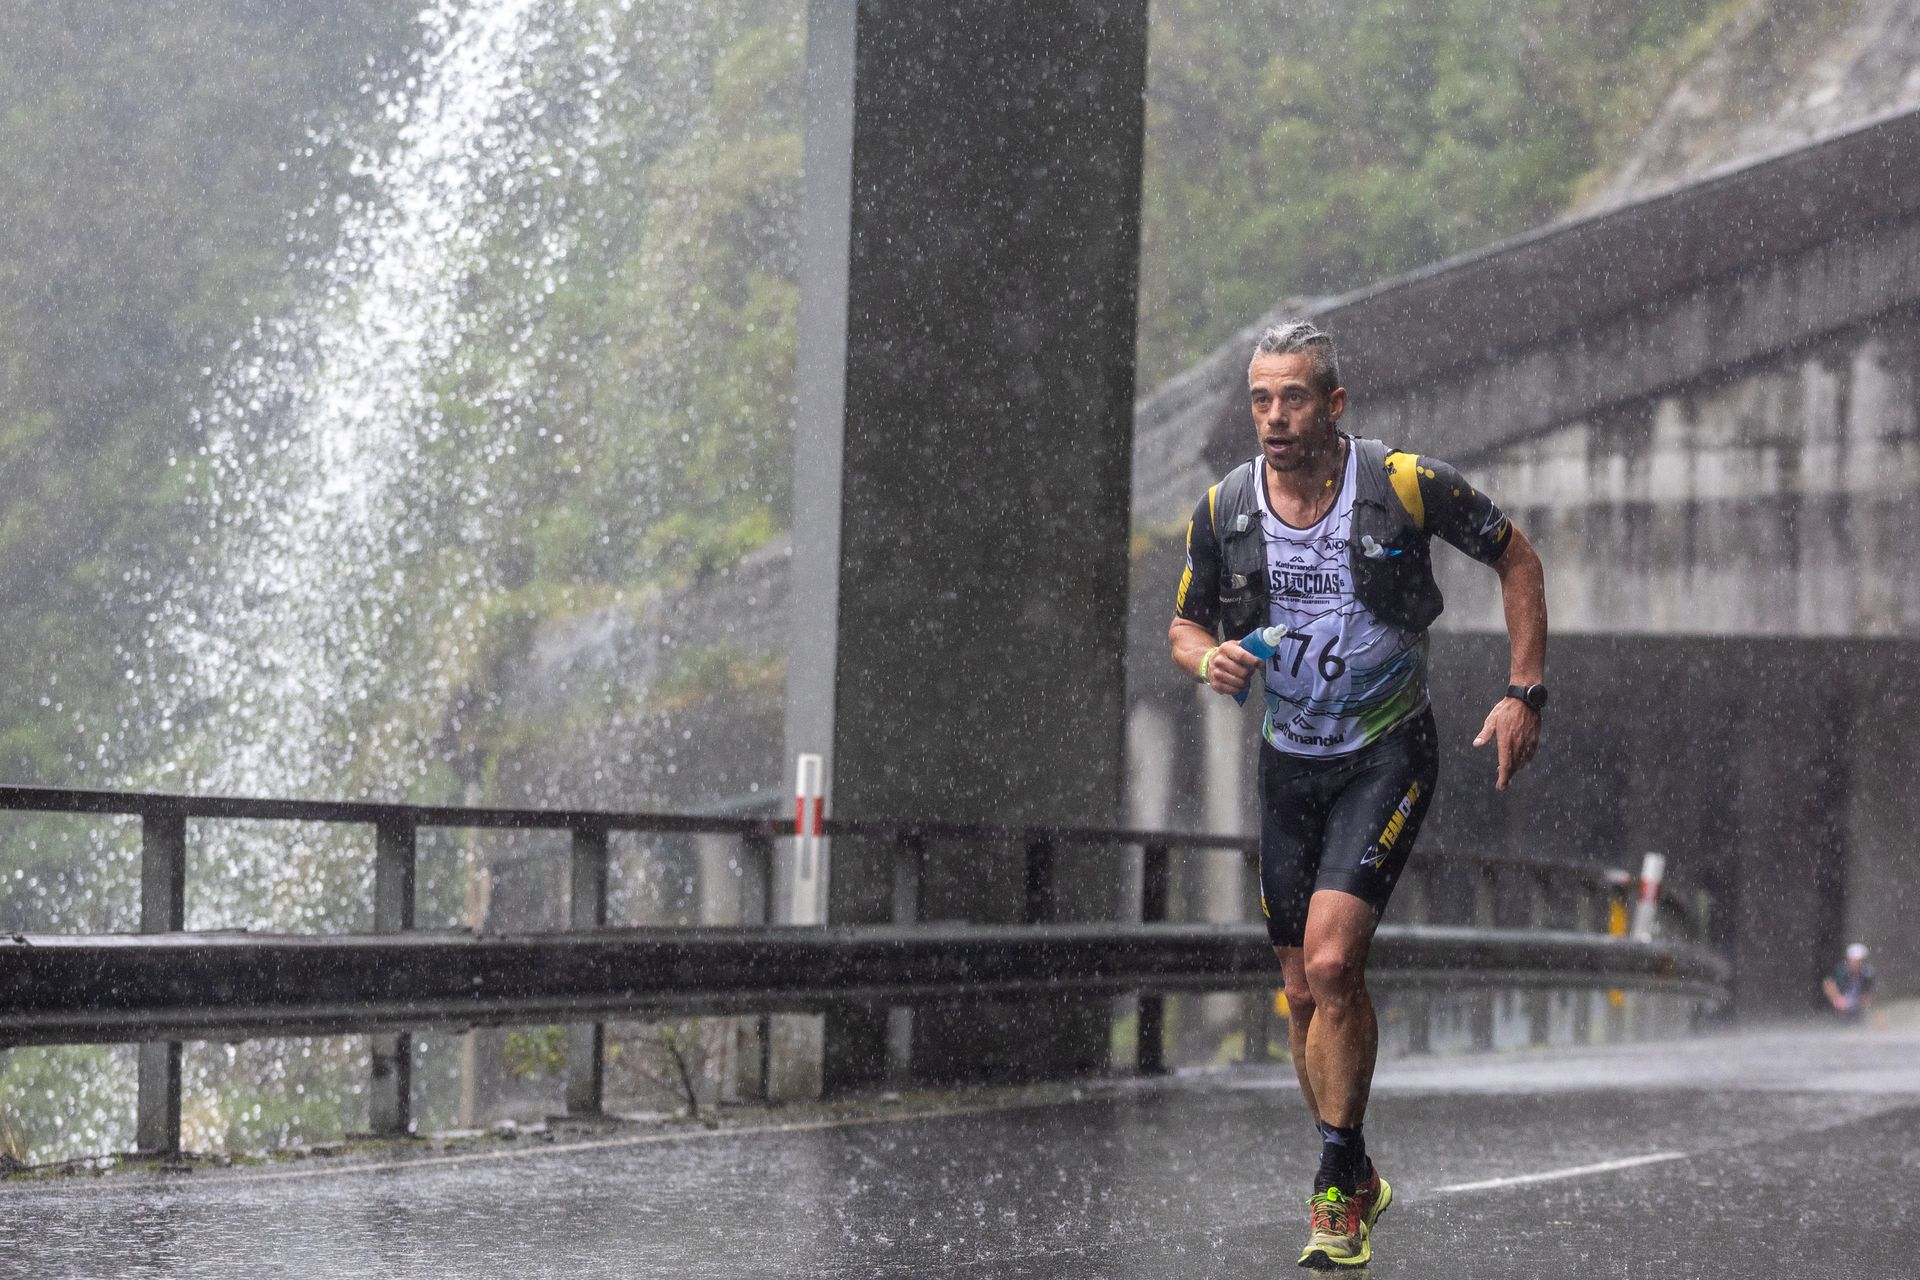
Two day competitors to run Otira Viaduct
Lynch aiming for a measured approach on Saturday